

- Time saving! Your fabric is already cut to size, saving you valuable cutting and measuring time.
- Co-ordinated! Charm packs are designed so that the fabrics chosen compliment each other - all you need to do is pick your project.
- Cost! Charm packs are a great way of purchasing a small piece of many fabrics in a collection without spending all your hard earned cash, meaning you can use a wider range of fabric designs and colours, even for smaller projects.
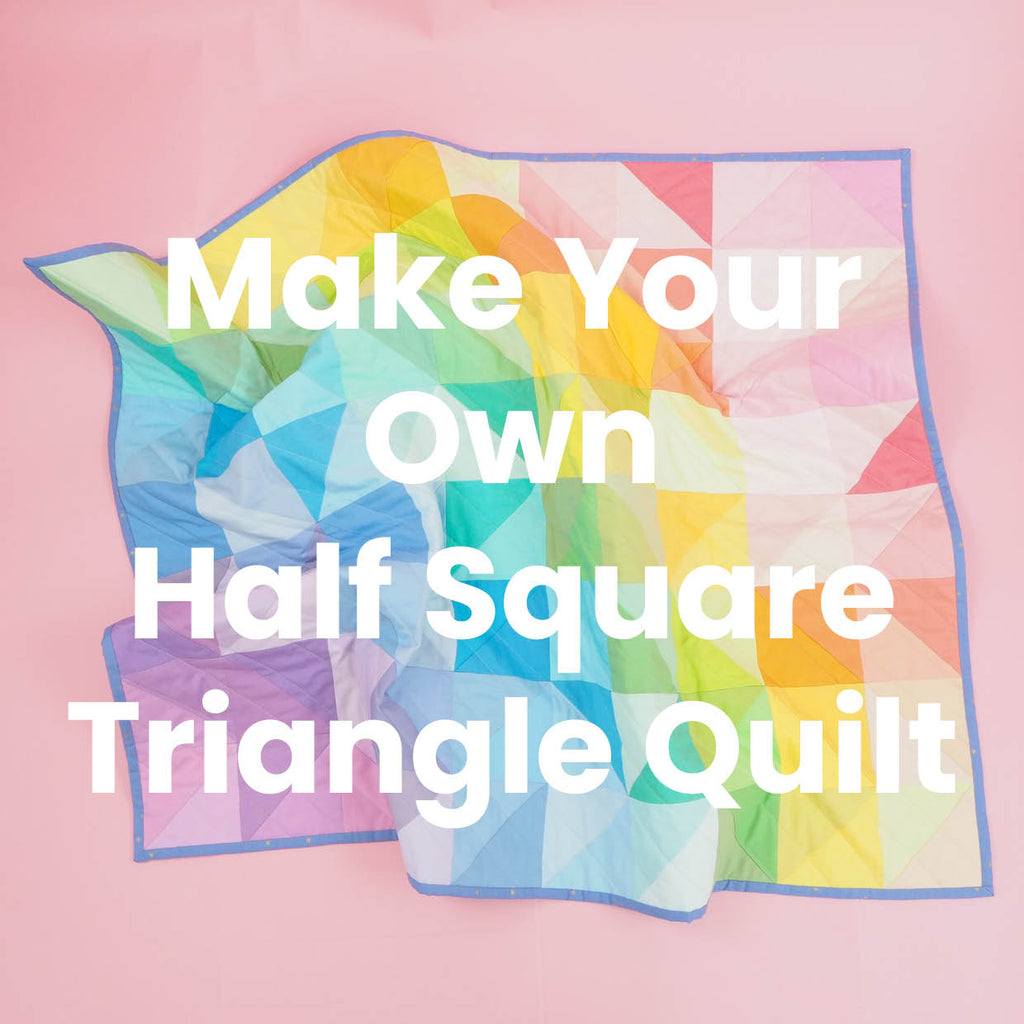
Half Square Triangle Charm Pack Quilt - Tutorial

1. Choose your charm pack
If you'd like to make a Half Square Triangle (HST) Quilt from a charm pack, the first thing to do is decide what size you'd like your quilt to be. Each charm square is 5 inches, but by the time you make your HSTs, trim them and stitch them together, each finished square will be smaller, usually 4 inches square.
For example, this Pastel Rainbow Charm Pack has 101 x 5 inch charm squares, so you could make 100 x 4 inch HSTs (one extra square left over!). Your quilt could be 10 squares x 10 squares, or about 40 inches square (approximately baby size), but you can use any layout you like!

Once you've chosen your charm pack(s), you can open it up and go straight into sewing your HSTs (one of the best bits about pre-cuts!).
2. Mark your squares

For your first HST, you'll need 2 charm squares. To make the quilt in the picture above, I sewed my squares together by starting with the 2 squares at the top of the pack and working my way down through the spectrum, but you can choose any colour combination you like. Place one charm square directly on top of the other (right sides together if you're using fabric with a right/wrong side).

Using a ruler and a marker, draw a diagonal line between corners.

3. Stitch your charm squares together

Using a quarter inch seam allowance, sew a straight line on either side of your marked line. I'm only showing one set of squares at a time here, but once you've got the hang of it, you can do these steps in batches to save yourself some time.
4. Cut your squares

Cut down the marked line. You can use a rotatory cutter and a ruler, or just chop it with your fabric scissors.
5. Iron your HSTs

Open up your HSTs and iron the seam allowance - you can iron it open or to the side, I've ironed mine towards to darker side in this picture.
6. Trim your HSTs

Trim each of your HSTs down to 4.5 inches square. I use a 4.5 inch square ruler for this, but you can use any ruler or your cutting mat to measure.

When you're trimming, you want to make sure the corners are at the point where the two fabrics meet so that they look nice and neat.

7. Work out your layout

Once you've stitched, cut and trimmed all your HSTs you're ready to work out your layout!

I laid mine out on my kitchen floor and moved the squares around until I was happy with how it looked. I had a few extra HSTs left over, but this will depend on the size of your quilt and how many HSTs you made.

I took a photo of my layout on my phone so I had something to refer to, then piled up my HSTs row by row in the order I was going to sew them (if I left them on my kitchen floor I'd definitely have dropped something on them immediately, but if you have the space you can sew them directly from where you laid them out).
8. Sew the HSTs into rows

Using a quarter inch seam allowance, sew your HSTs together row by row.
9. Sew the rows together

Sew the rows together, again with a quarter inch seam allowance: use pins to help you keep them in place.
10. Baste your quilt

Iron your quilt, your batting and your backing fabric and make a sandwich (wrong sides together) with your batting in the middle. Baste it however you like, I used a lot of curved safety pins for mine.
11. Quilt!

It's quilting time! Quilt your quilt sandwich - I went for simple diagonal lines in a pale grey thread because I didn't want to take too much away from the pretty HST pattern. Once you've finished quilting, trim the edges straight with a ruler and rotary cutter.
12. Bind your quilt

Make your binding and bind your quilt. I machine stitched the front of my binding and hand stitched the back. If you're not sure how to bind a quilt, there's a great tutorial over at The Sewing Directory.
Congratulations! You've finished your HST Quilt! Now you deserve a cup of tea and some cake, or at least a lie down. Take lots of photos of it and show everyone! If you're like me, you'll have already started planning your next HST Charm Pack quilt - check out our selection of Charm Packs for some colourful inspiration!


Leave a comment