
For those of you who asked, here’s a wee tutorial for you to make your own scrub cap. The pattern is roughly based on disposable scrub caps.
1. Gather your materials
- Checklist: fabric, pins, elastic, scissors, ruler, thread.
First you need some fabric. I’m using scraps from a reversible 1970s poncho I made in our Rainbow Clouds Cotton Lawn. You can use pretty much any fabric without stretch, but I usually wash mine with my scrubs at 60-90 degrees so it needs to be quite robust! Quilting cotton or lawn is perfect. My scrub caps have been used many times and still look and fit really well. You'll also need some pins, elastic (I used some 12mm elastic I had left over - but really any width will do!), scissors, ruler and thread.

2. Cut your pattern pieces
- Cut: 20 cm x 66 cm rectangle, 11 cm radius circle.
The pattern is just two pieces of fabric - one rectangle 20 cm x 66 cm and one circle with a radius of 11 cm. I usually have my hair in a bun, which takes up a bit of space, you might be able to make the long strip a little narrower.

These are the instructions I have for the hat. For some reason, it’s half metric and half imperial, I have no idea why!


Giving it a good press and folding it into quarters makes it easier to set it in.


3. Join the strip ends
- Sew: finish the shorts ends of the rectangle then join them together.

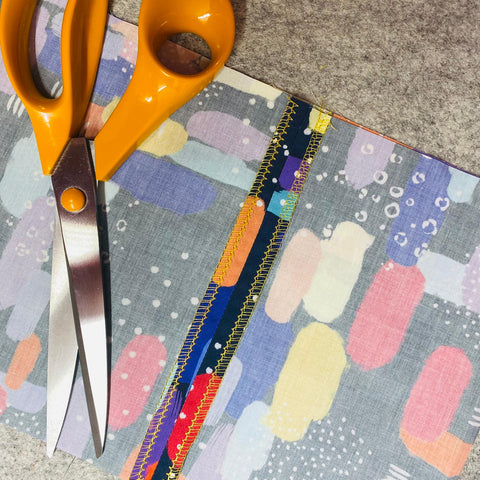
I would usually overlock first, but I got excited about taking pictures and forgot.
4. Sew the circle to the rectangle
- Sew: pin the circle piece of fabric to the rectangle, right sides together, then stitch. Finish the seams.


I have a confession: I sew over pins. Judge away.

My sewing machine doesn't have a marker for a 1/2 inch seam so I've used this patterned red washi tape to help on another project I'm working on just now. This is a really useful tip to keep an even seam width. You can even use a few layers to make a little ledge to butt the fabric up against!

5. Add hem/elastic casing
- Press: Turn up the hem twice and press.
Turn up the hem by about 10 mm, then another 20 mm to create a casing for the elastic at the back, and a hem at the front.

Yes I’m using the letter size guide to measure. The hat will usually be 15-16 cm from the top seam to the bottom.

6. Add elastic and stitch hem
- Sew: Stitch elastic in at one end and stitch along the top of the channel. Pin the elastic at the other end and try on your cap. Join the elastic.
Sew in some elastic at one end. I attached it about 6 cm from the midline, but you can change this as you like. Stitch along the top to create a little channel.


Pull the elastic tight, pin and try on for size. I find they get a bit sore if they’re very tight, and mine have shrunk a bit over time in the hot washes so keep it a little loose.


Pull the elastic taught and stitch the ends together. It will pull the back into the channel once you let it go, then you can trim the excess elastic.
7. Finish hem
- Sew: Close off the channel by finishing the hem.


Finish the hem of the hat and voila! One quick and easy scrub cap!
Stay home, stay safe, protect the NHS. I know times are tough, but we can get through this. Support your healthcare worker friends and family, we could all do with a little help just now. x
Leave a comment